SPOILER WARNING
Every escape room article is spoiler-free to assist first-time players, but do not click any links on the article if you wish to avoid spoilers. Spoilers are also hidden in optional toggles.
- "This place really says 'someone lives here'."
- — Phi, exploring the Crew Quarters
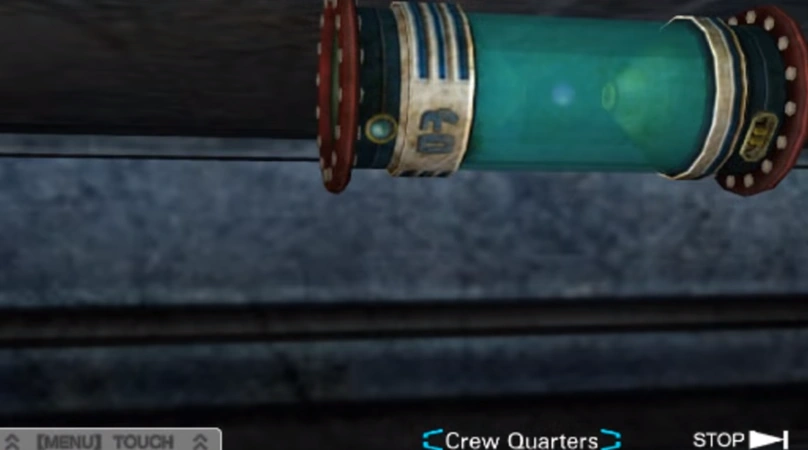
The Crew Quarters is an escape room located behind the cyan Chromatic Door in Warehouse A. It actually consists of four separate rooms. Sigma, Phi, and Alice go through these rooms before the first round of the Ambidex Game.
Layout[]
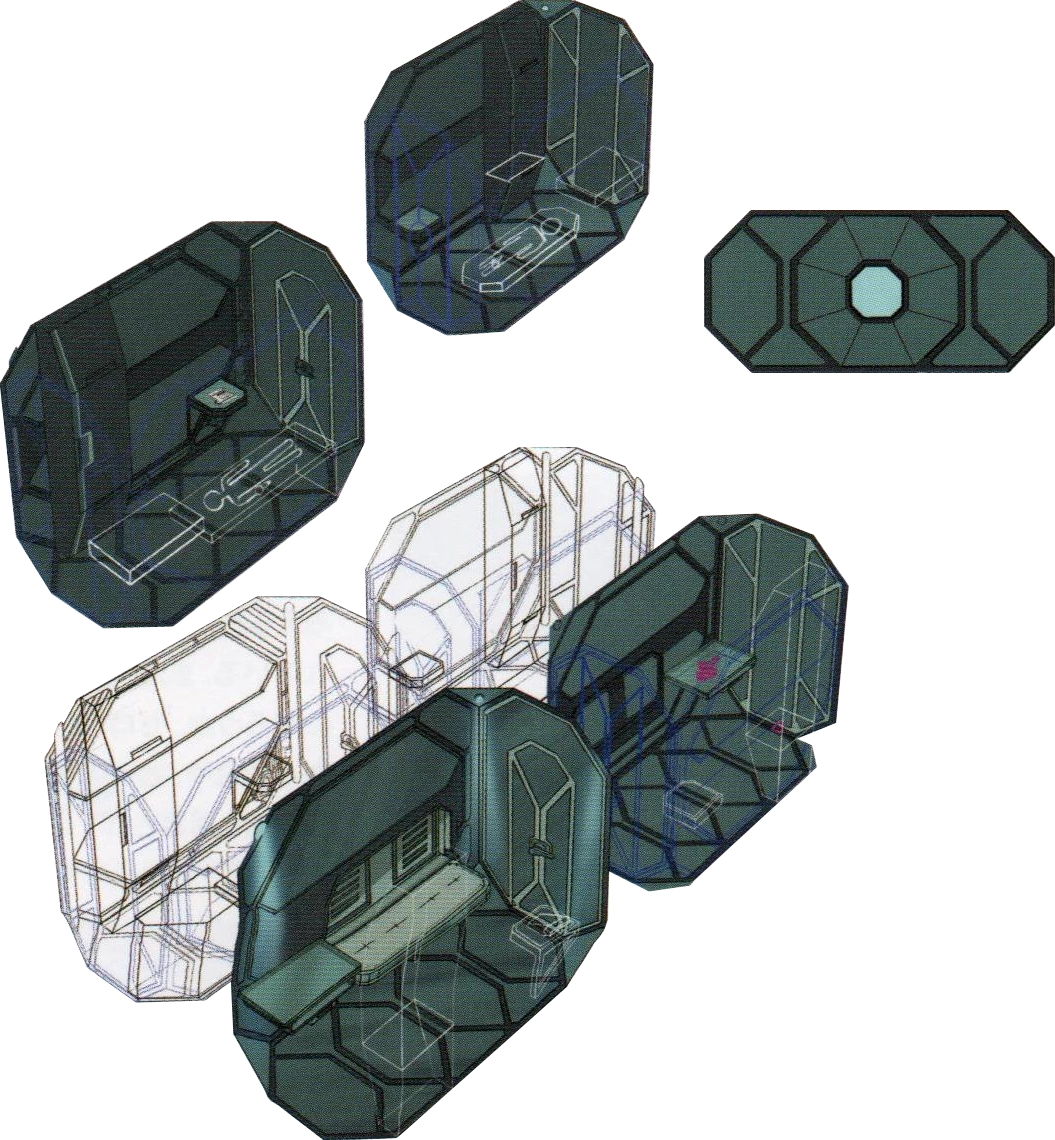
Concept art.
The Crew Quarters consists of a long hallway, with four doors labeled 1-4 that have a wheel to open them. Each room has a fold out cot, a large locker with a panel, a small glass drawer, and a telephone. In addition, Room 1 has an operational phone and Room 4 has a scratch poster of a girl in it.
Story[]
Sigma accesses the Crew Quarters with Phi and Alice if he chooses to go through the Cyan door. Once arriving at the Crew Quarters, Alice states there are 4 rooms and each has a number on them. She asks if the facility is used to drill oil, or for other purposes. Phi states that the room shows that people have lived in it. Sigma decides that it is best to split up and search all the rooms. Alice searches Room 2, while Phi investigates Room 4.
Once opening the safe, Sigma calls Alice and Phi to Room 1, but Phi asks him if he took anything from the safe. Inside the safe, they find a map of floor A, two sun cards, the note on the Chromatic Doors, and the exit key. Alice points out the Schrödinger's Cat book on the safe/the desk and asks why it would be there. Before Phi could explain, Sigma and Alice decide that they can talk about it later, after they leave the room. After leaving the Crew Quarters, Sigma, Alice, and Phi head towards the Floor A elevator, and meet up with the others.
After escape[]
Items[]
Found Items[]
Small Piece Of Metal[]
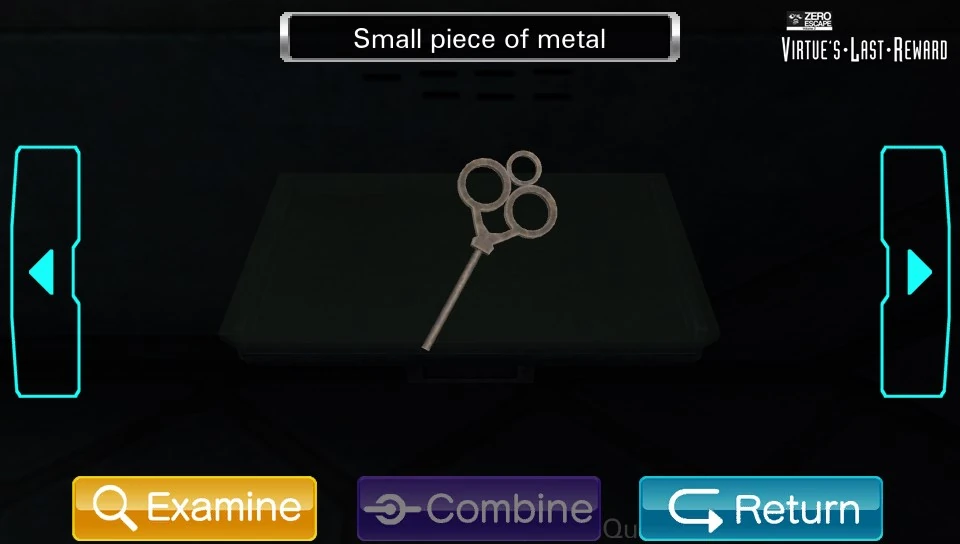

A key broken beyond repair.
The piece of metal is found on the desk in Room 2.
Combines with Part of a key to form Small key.
Small Cassette Tape[]
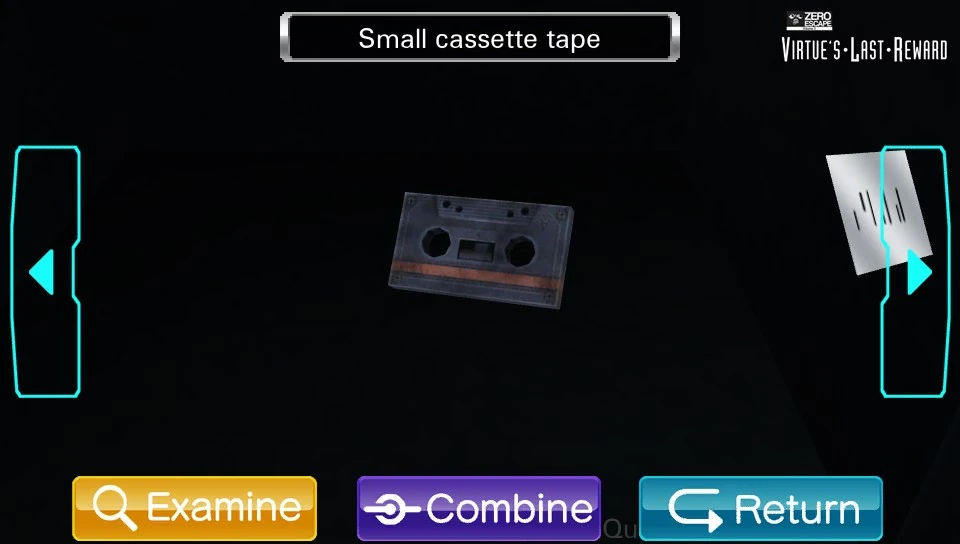

The small cassette tape.
The tape is found inside the Room 2 locker. Placed into the slot of the phone in Room 3. There is a recording of Zero Jr. on it that can be heard if called from the phone in Room 1.
Coin[]
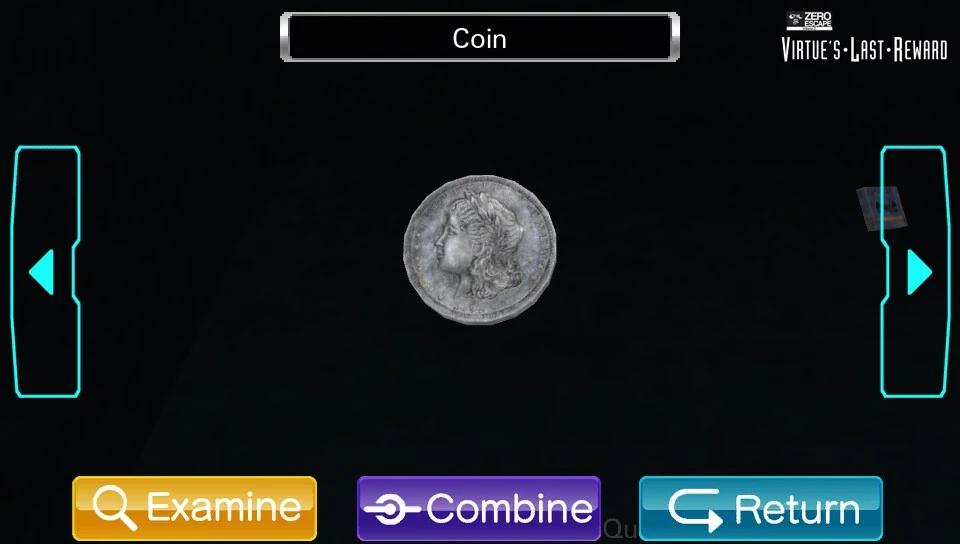

Scratch, scratch, scratch!
The coin is found inside the Room 4 locker. Used to scratch the poster in Room 4.
Small Metal Pin[]
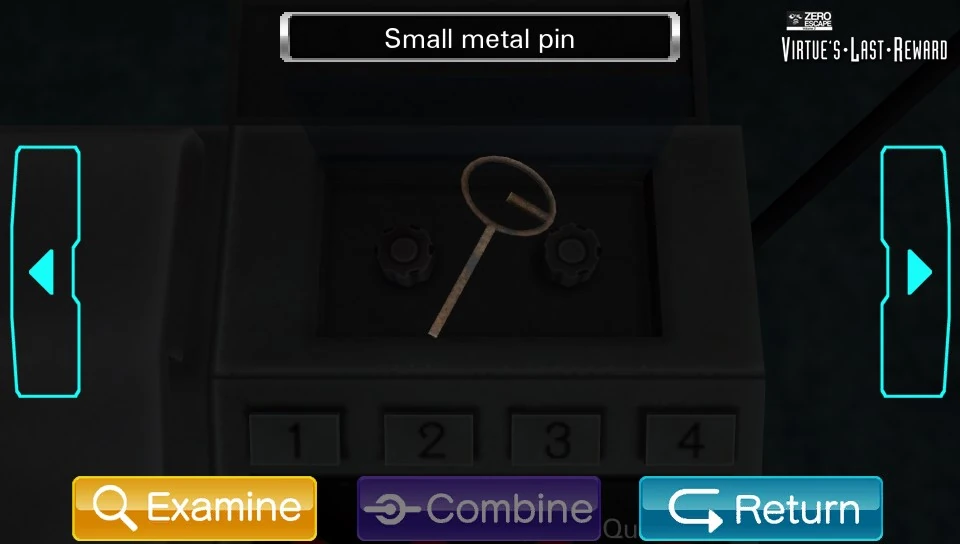
A simple pin.
The pin is found inside the cassette tape of the phone in Room 1 by entering 2652 into the phone. Used in the keyhole of the locker in Room 1, which then allows the keypad to function.
Part Of A Key[]
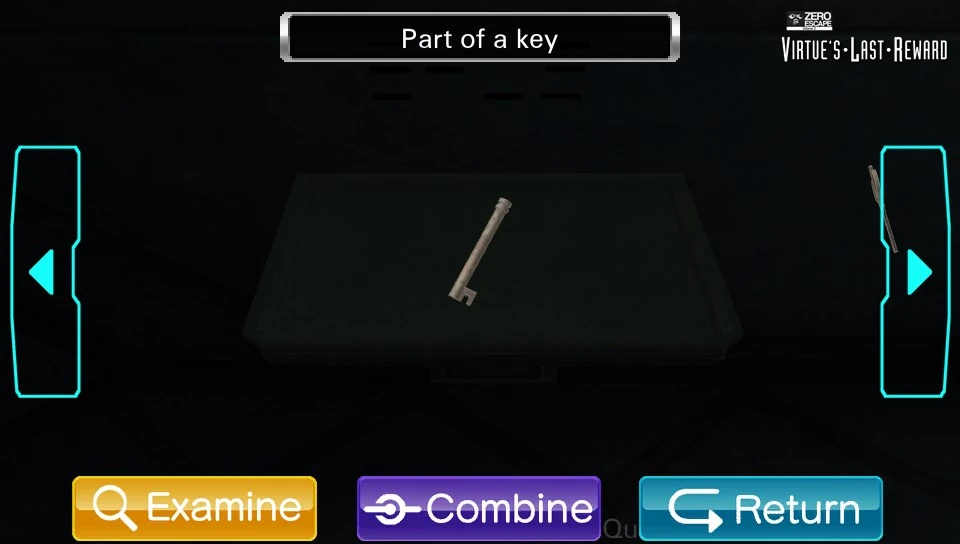

How do the parts stay together?
The key part is found on the desk in Room 4.
Combines with Small piece of metal to form Small key.
Large Roll Of Aluminum Foil[]
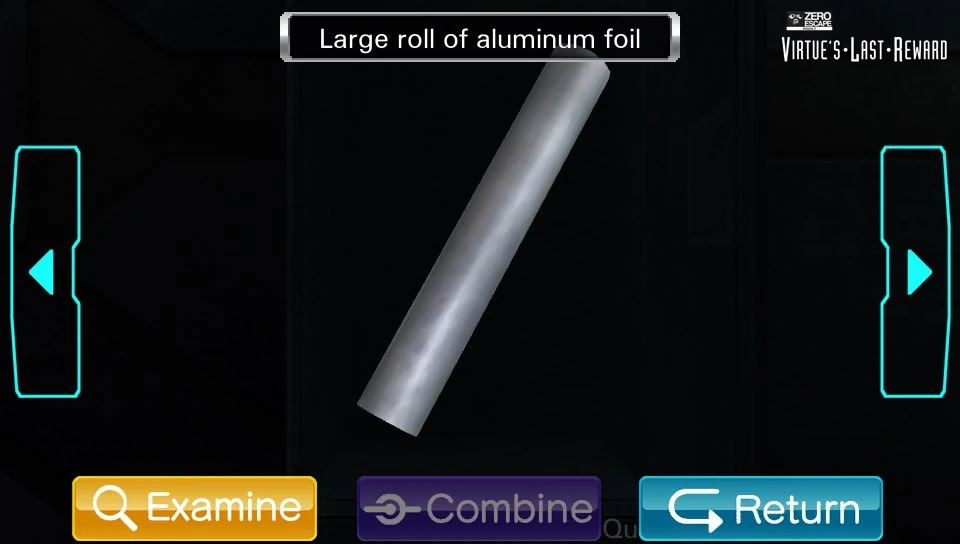

If only they knew they could remove their bracelets with this...
The large roll is found inside the Room 3 locker, which is already unlocked.
Combines with Box cutter to form Aluminum foil (shapes).
Combines with Box cutter to form Aluminum foil (pattern 1).
Combines with Box cutter to form Aluminum foil (pattern 2).
Combines with Box cutter to form Aluminum foil (pattern 3).
Box Cutter[]
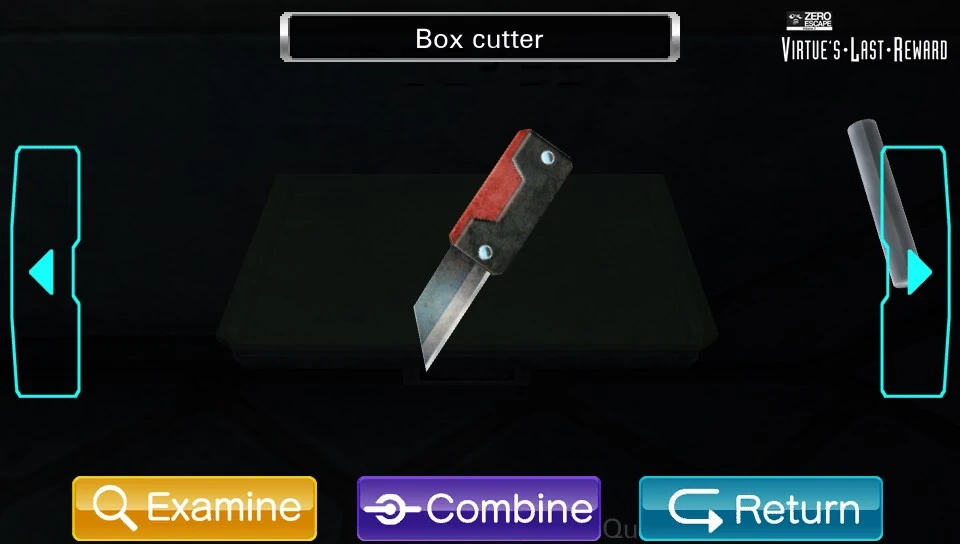

Oooh, pointy!!!
The Box cutter is found on the desk in Room 3.
Combines with Large Roll of Aluminum Foil to form Aluminum foil (shapes).
Combines with Large Roll of Aluminum Foil to form Aluminum foil (pattern 1).
Combines with Large Roll of Aluminum Foil to form Aluminum foil (pattern 2).
Combines with Large Roll of Aluminum Foil to form Aluminum foil (pattern 3).
Combined Items[]
Small Key[]


The small key is found after the piece of metal and key part are combined. Used to unlock the handcuffs on Door 3's handle.
Aluminum Foil (Shapes)[]


The foil is found after the large roll of aluminum foil is cut with the box cutter. Placed on the desk drawer in Room 1 to reveal the following pattern: circle, star, diamond, triangle.
Aluminum Foil (Pattern 1)[]

The foil is found after the large roll of aluminum foil is cut with the box cutter. Placed on the desk drawer in Room 2 to reveal the locker combination "4985".
Aluminum Foil (Pattern 2)[]

The foil is found after the large roll of aluminum foil is cut with the box cutter. Placed on the desk drawer in Room 4 to reveal the locker combination "3472".
Aluminum Foil (Pattern 3)[]

The foil is found after the large roll of aluminum foil is cut with the box cutter. Placed on the desk drawer in Room 3 to reveal the message "LOCKER".
Minigames[]
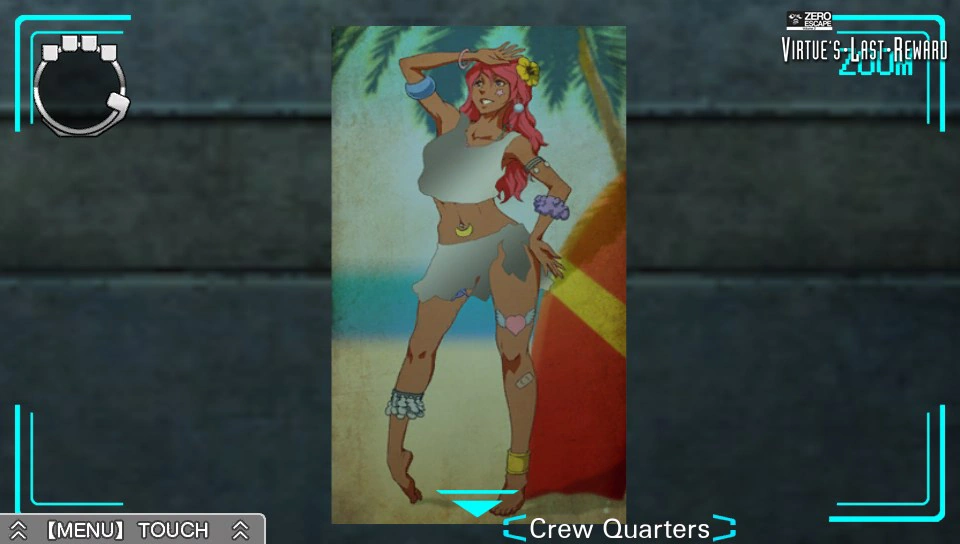
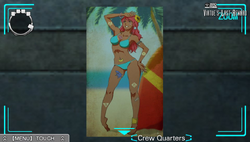
Poster Scratching[]

Poster unscratched.

Poster scratched.
")
")
This minigame is accessed in Room 4 after obtaining the fake coin from the locker in the same room using the password 3472.
In this minigame, the player must scratch the woman on the poster using the coin. Scratching the poster will reveal numbers hidden on it that are required for the locker in Room 1. The numbers reveal what the shapes on the aluminum foil mean. Note that the triangle and star are pointing down, but it's pointing up on the aluminum foil. The body parts to scratch can be found on the beds in each room, but the poster scratch is easy.
- (upside down) Star = 6
- Circle = 1
- Diamond = 8
- (upside down) Triangle = 9
The symbols in Room 1 go in the order Circle, Star, Diamond, Triangle, therefore the code is 1986 (escape password) after remembering to turn the star's number and triangle's number upside down.
If you try to imagine 1986 the way Zero III mentioned, it becomes 9861 (secret file password).
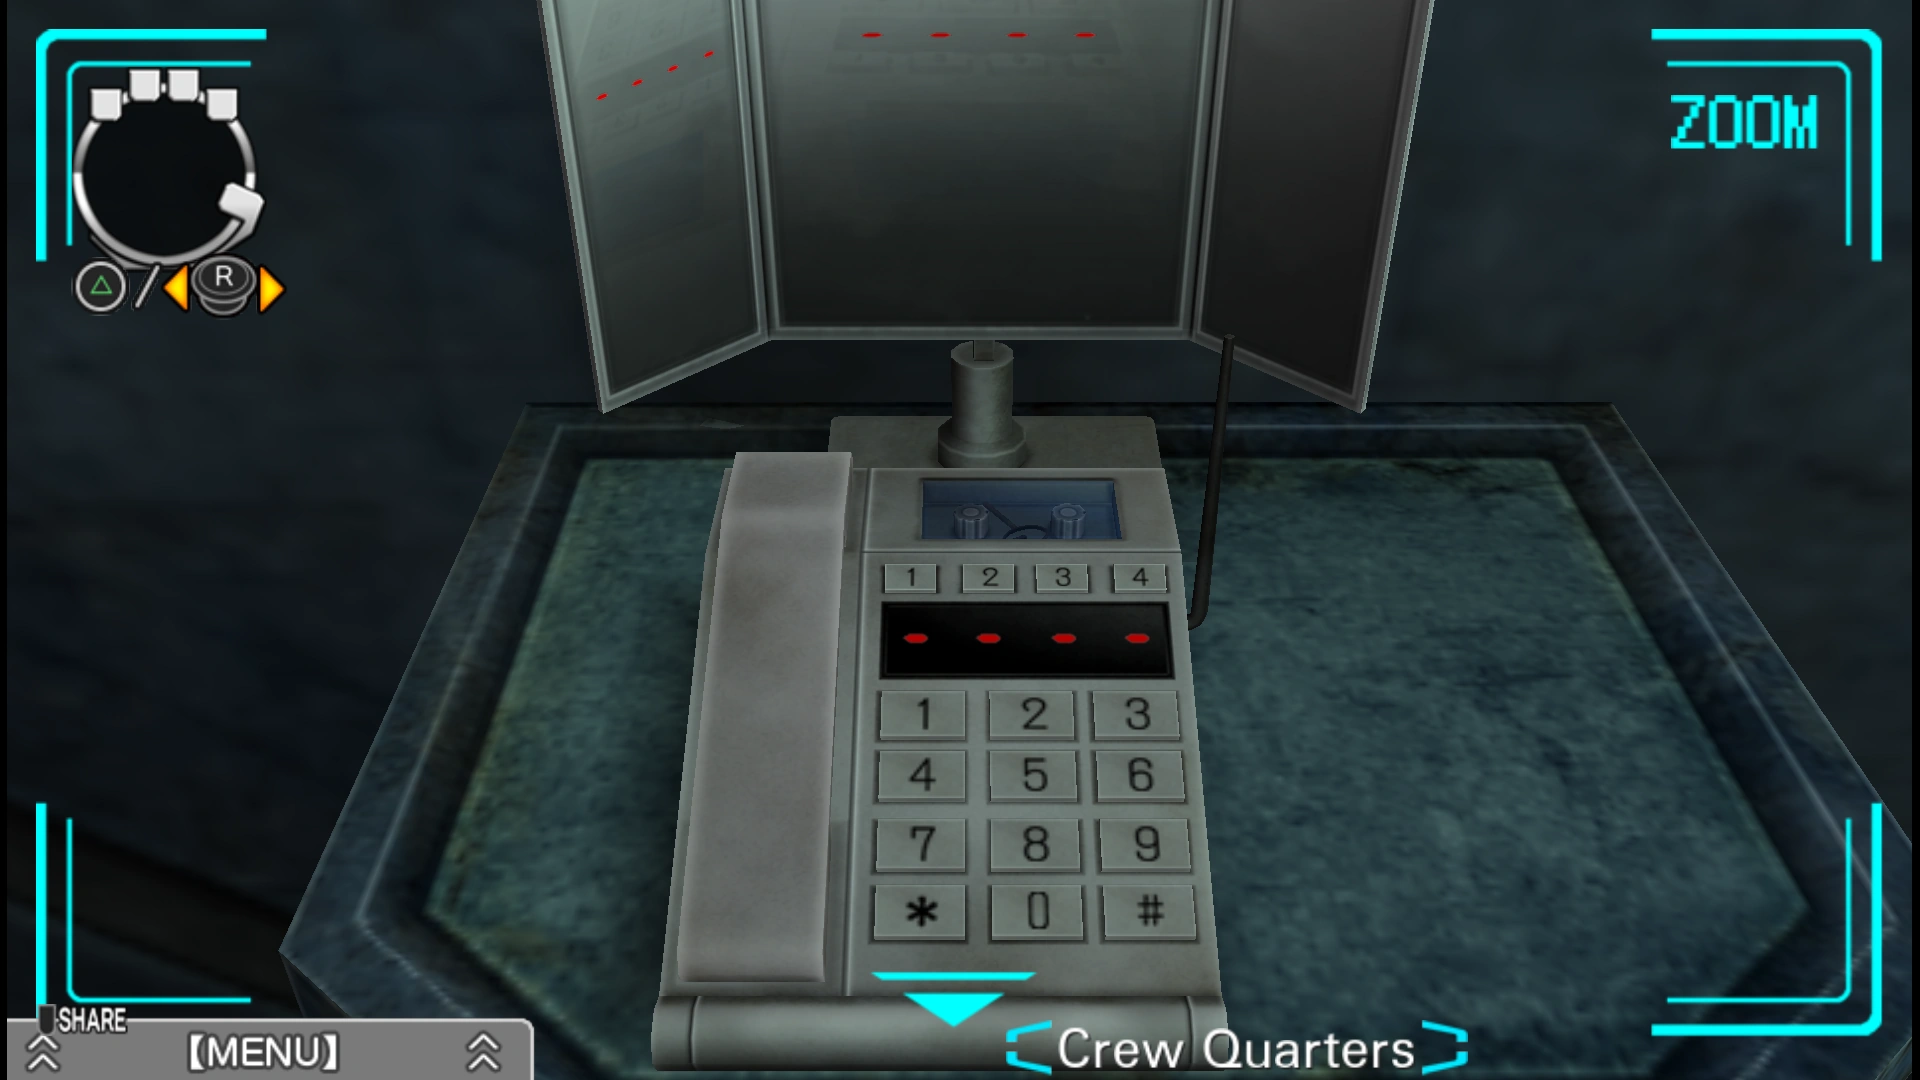
Room 1 Phone[]
The phone in Room 1.
After the Small Cassette Tape is inserted in Room 3's phone, enter Room 1 and use its phone. With hints from Phi and Alice after calling the 2 and 4 on the phone, input 2592 into the phone.
This reflects 2652 in the mirror. Enter it to obtain the small metal pin, allowing access to the locker in the same room.
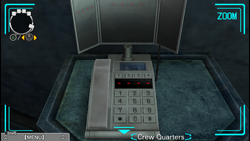
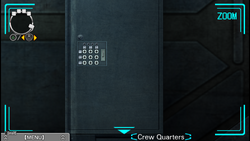
Locker Passwords[]

A locker in one of the rooms.
This minigame has three parts because of the three locked lockers in this room. The player must use the aluminum foil wraps with the symbols or numbers to open the lockers.
The final locker in Room 1 has the escape and file passwords in it, and requires the poster scratching minigame to get the code for that locker.
- Room 1: 1986 (for escape) and 9861 (secret file password)
- It's highly recommended to input the secret file password first into the safe or Sigma will be kicked out of Room 1 after receiving the items from the escape password contents and can't re-enter.
- Room 2 (Alice): 4985 - Unlocks small cassette tape
- Room 3: Already unlocked and contains aluminum foil
- Room 4 (Phi): 3472 - Unlocks coin for poster scratch
Trivia[]
- It is known as "Cabin" in the Japanese version.
- In the 3DS version, there is a fatal game-breaking glitch in the Crew Quarters. If the player saves during this escape section, there is a high chance that their game will freeze and their save data will get corrupted, forcing them to delete their data and start the entire game over. This glitch occurs less in the 3DS eShop version of the game, and is far less fatal. The same glitch occurs under the same circumstances in the Pressure Exchange Chamber.

Zero Escape- Virtue's Last Reward - Crew Quarters ALL Secret Numbers -December 2017-
- Aside from the phone numbers 2592 and 2652, you can also enter some secret numbers for amusing results. It is believed that this is the full list:
- 0818, grotesque sounds of ravenous, gruesome consumption are heard, which causes Sigma to vomit.
- 3141 (the first four digits of Pi), you hear a message from "Euler": "The first known examples appeared some time around 9500 BC -- a time known as the Eqyptian Neolithic period or the New Stone Age -- when stone tools shaped by polishing or grinding were becoming common. Often they took the form of galettes, with honey concealed inside a wrapping created from ground oats, wheat, rye, or --." Sigma says, "Do you ever stop?!" and hangs up.
- 5309, Jenny will answer (a reference to a song called "867-5309/Jenny"). Sigma says, "Hey, I got your number on the wall--" but before he can continue, Jenny hangs up.
- 6724 (the last four digits of Aksys Games office phone number), connects to the Aksys Test Group, where the automated message will thank him for volunteering to join. The message asks Sigma whether he would prefer the "mental" or "physical test battery" (although the mental tests do carry a small risk of death).
- 6969 connects to a prostitution line which charges Sigma $24.95 a minute, but Sigma comments that it's too expensive ("Uh, that's a little too rich for my blood, thanks...") and hangs up. "69" is a sexual position.
- 8008 ("boob") gives you an upside-down message that says "Gosh he is illegible!" from "O'Leigh."
- Sigma visits this room on every route in the game.
- If Sigma chooses the Magenta Door, this room is solved by Dio, Quark, and Tenmyouji. If Sigma chooses the Yellow door, it is solved by K, Clover, and Luna.
| SPOILER WARNING - DON'T READ UNTIL YOU COMPLETE ENTIRE GAME | |
| |
Humorous Quotes[]
- Examine the poster in Room 4.
 Sigma: By the gods! I never thought I'd see one...! Phi: Uh...what? Sigma: You scratch off the silver part with a coin so you can see the naughty stuff. Sigma: It's the ultimate in interactive poster technology! What teenage boy doesn't dream of something like this? The excitement! The anticipation! And finally...the reveal! Phi: You look pretty excited...
- Use the coin on the poster
- Sigma: All right you silvery bastard, time to meet your doom! Sigma: Let's do this! Sigma: Yeeeaaaaaaaaaaaah! Phi: Damn you're excited... Sigma: Hey, don't misunderstand me. I'm just...really anxious to...find a clue in there. Aren't you? Phi: You want to let me do it, then? Sigma: ... Phi: ... Sigma: I-I'm sorry...Please, just let me have this. Phi: Then get on with it.
- Finish the poster minigame
- Sigma: *Wheeze* *Wheeze* *Wheeze* Sigma: *Pant* *Pant* *Pant* Phi: Damn! I look away for a second and you've scratched it all off! Sigma: Yeah... Sigma: I noticed some things that might be clues, so I kept going. Phi: You mean these marks on her arms and legs? Sigma: Yeah... Phi: There are four of them...A star, a circle, a diamond, and a triangle.
(SCRATCHING) Phi: Hey! What're you doing?! Phi: You've already scratched it all off! Sigma: No, I'm not done yet! Sigma: This blue part still needs to go...! Phi: ... Sigma: ... Phi: Sigma... Phi: I don't think that part's going to come off, no matter how hard you scrape.