SPOILER WARNING
Every escape room article is spoiler-free to assist first-time players, but do not click any links on the article if you wish to avoid spoilers. Spoilers are also hidden in optional toggles.
- "The antidote is in that room. Find it. Good luck."
- — Zero, after telling C-Team that they've been poisoned
The Infirmary is an escape room that is found within the Poison fragment for C-Team. A relatively small room, it is sparsely stocked with basic medical equipment. It is searched by Carlos, Junpei, and Akane.
Layout[]
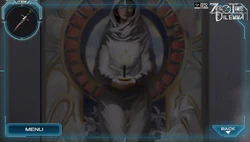
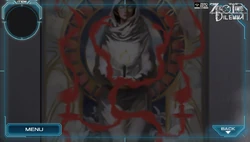
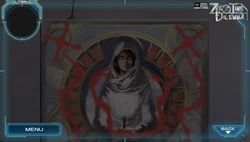
The Infirmary appears to be well-used, with cracks present in floor tiles, cracks in the walls, and peeling paint. The equipment and furnishings inside the room show its age as well, with stains and tears. Starting with the north side of the room, there is a large cloth poster featuring a hooded figure hanging on the wall. In front of that is a humidifier and a small, dying potted plant.
To the west, there is a massive CT scanner with a barcode reader sitting upon it. On the same wall as the scanner, there is an old green medical department poster hanging on the wall. To the left of this poster is a sealed power box that appears to be dangerously live because of the crack on the wall that runs along it.
Moving on to the south wall, there is a dirty doctor's coat and stethoscope on the wall, along with another withered plant. Next to these objects is a set of five lockers and the exit. To the southeast, there is a tipped over trash can and an old cot with a syringe sitting on top of it.
Finally, to the east, there is a big monitor sitting upon a desk. This desk has nothing on it besides a can of luminol. To the right of the desk is an empty sink and a chair for patients, while to the left is a revolving chair and a shelf cluttered with an assortment of junk.
Story[]
The exit reveals itself to be unlocked.
Carlos, Junpei and Akane wake up in the infirmary and discover they aren't locked in. As they are pondering why they are in the room, Zero greets them on the loudspeaker. He tells them a story about how a woman was killed and an innocent man was convicted and executed for the murder. The man's wife took her own life and left behind two young children. A few years later, DNA evidence proved that the man was telling the truth about his innocence and the true culprit was unknown and still remains at large. Zero says that this was unfair and warns that calamity can occur without warning. He informs them that six of them have been injected with poison and that the antidote can be found within the room, forcing them to begin their search.
Items[]
Found Items[]
Barcode reader[]
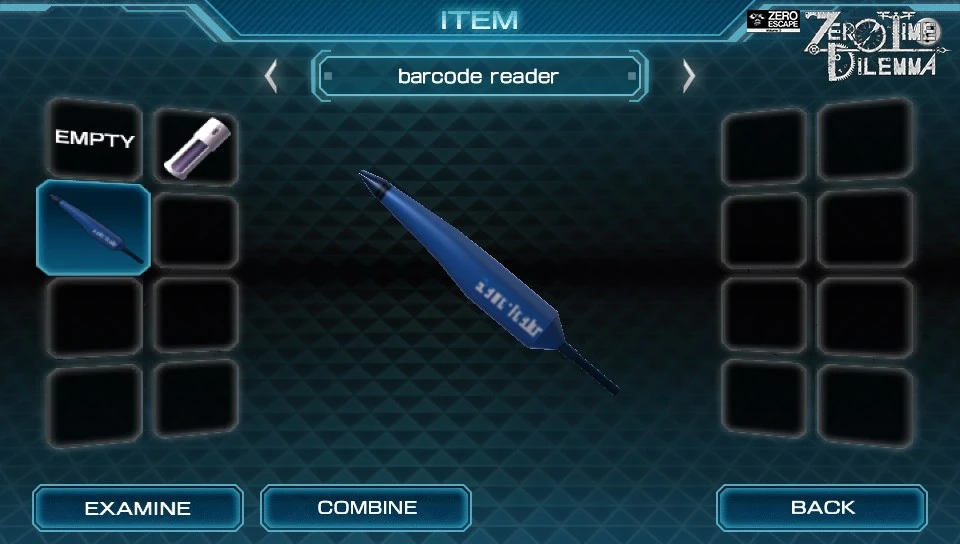
A simple barcode reader.
A small blue barcode reader that is found on the CT scanner table. It is used to scan Carlos, Junpei, and Akane's CT scan results once they are uploaded to the big monitor.
Stethoscope[]
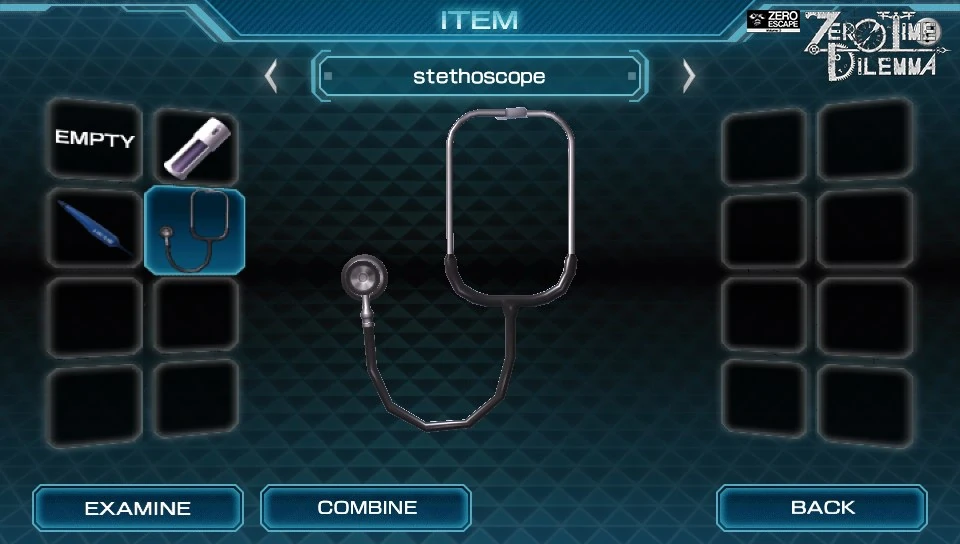
A good way to listen to heartbeats.
A basic stethoscope that is found on the doctor's coat. It is used during the "Lock Picking" minigame to internally hear the sound of the locks.
Syringe[]
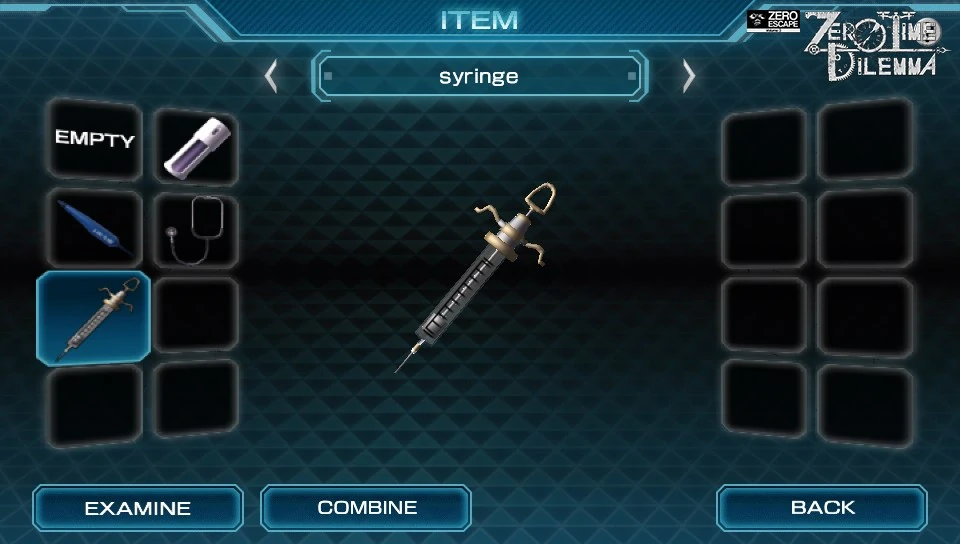
Injection time!
A sterile syringe that is found on the bed next to the monitor. Is later filled with ink and injected in the silk poster.
Luminol spray[]
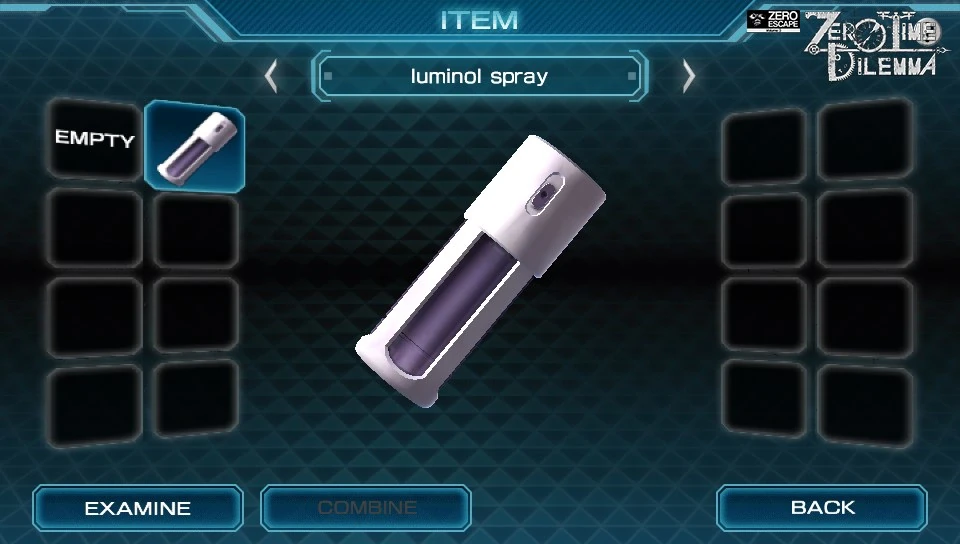
A well designed canister of luminol spray.
A sturdy canister of purple luminol spray that is found on the desk in front of the big monitor. Sprayed on the lockers with to reveal the locker combination numbers.
Puzzle cube[]
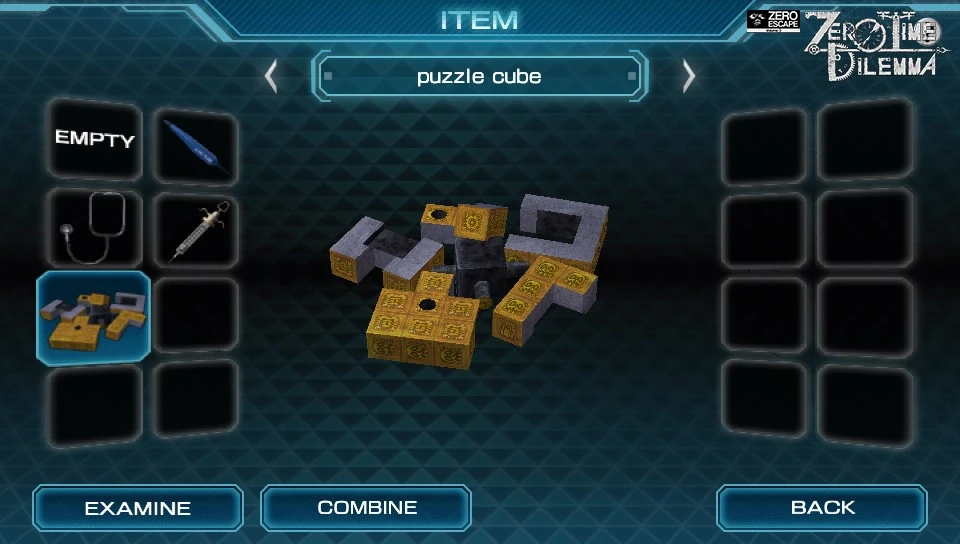
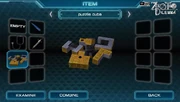
A jumble of puzzle pieces.
An assortment of yellow puzzle pieces that are eventually combined into a cube during the "Puzzle Cube" minigame. It is located inside of the middle locker.
Key card[]
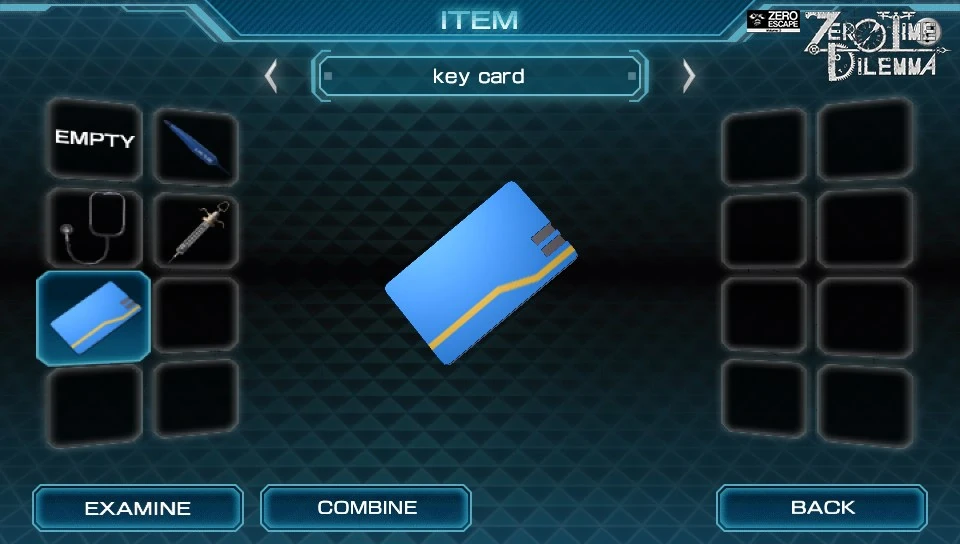

Simple blue keycard.
A simple blue keycard that is given after completing the "Puzzle Cube" minigame. It allows you to turn on and use CT scanner.
Bottle of ink[]
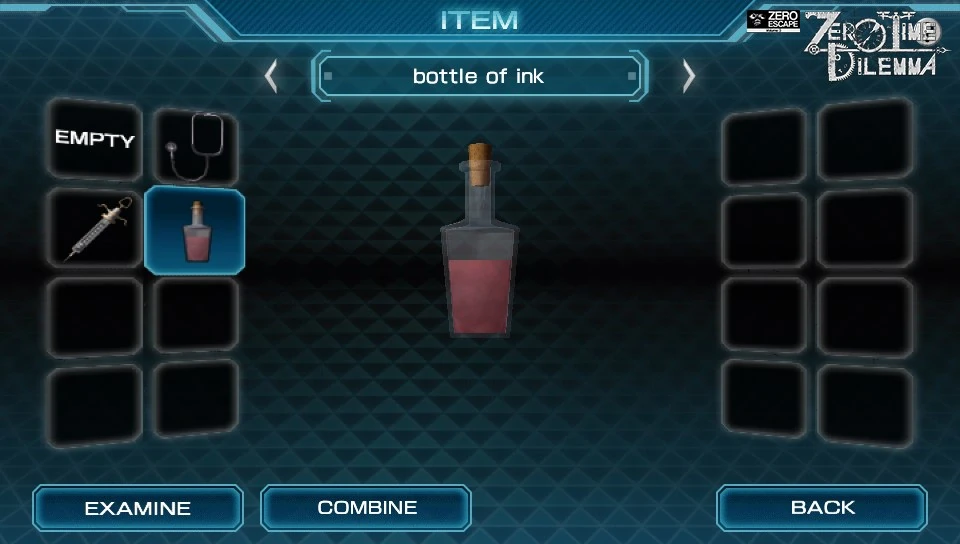

A small bottle of ink.
A small bottle of red ink. It is found inside of the locked drawer underneath the big monitor upon completing the barcode scan. Combines with the syringe and injected into the silk poster.
Lug wrench[]
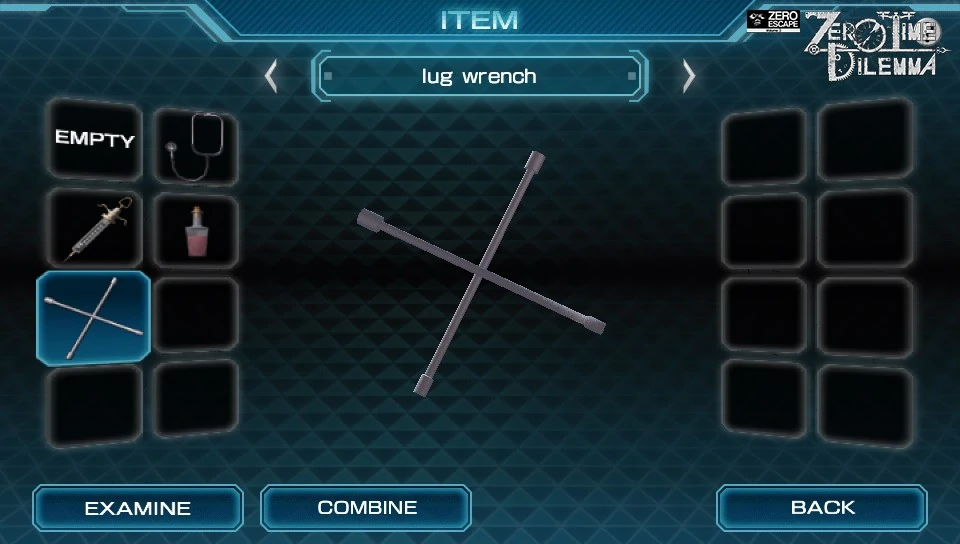

A cross-shaped lug wrench.
A metal cross-shaped lug wrench found in the drawer underneath the big monitor after completing the barcode scans. It is used to unscrew the silk portrait from the wall.
Combined Items[]
Syringe with ink[]
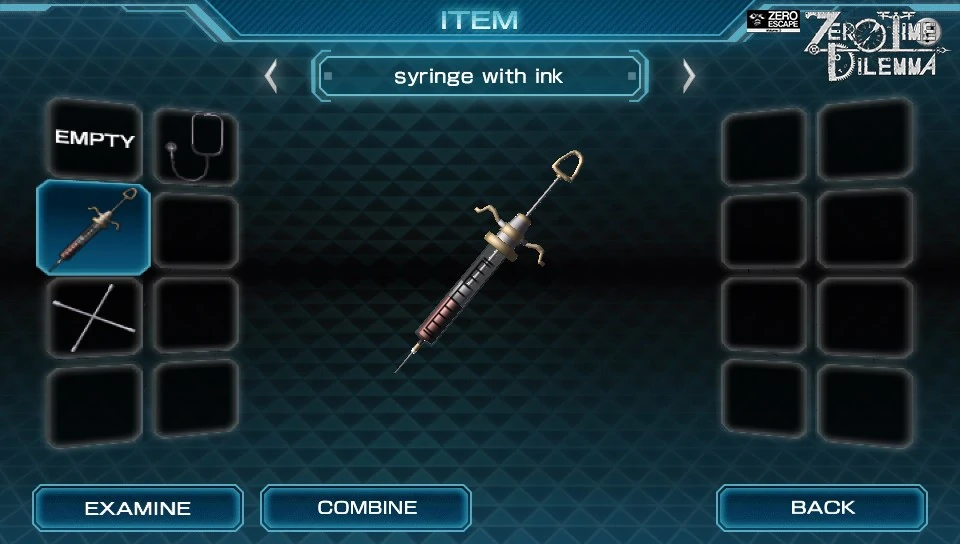

A syringe filled with ink.
A syringe that is filled with red ink. It is injected into the silk poster on the wall.
Minigames[]
Lockers[]

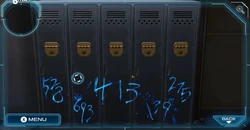
The locker combinations.
From left to right (1-5):
- 1: 528
- 2: 693
- 3: 413
- 4: 139
- 5: 275
The player should only open locker 3 (center) and locker 5 (right). The other three lockers are empty. Locker 3 contains the puzzle cube and Locker 5 contains a Quest File hint (use the syringe on a candle).
Puzzle Cube[]
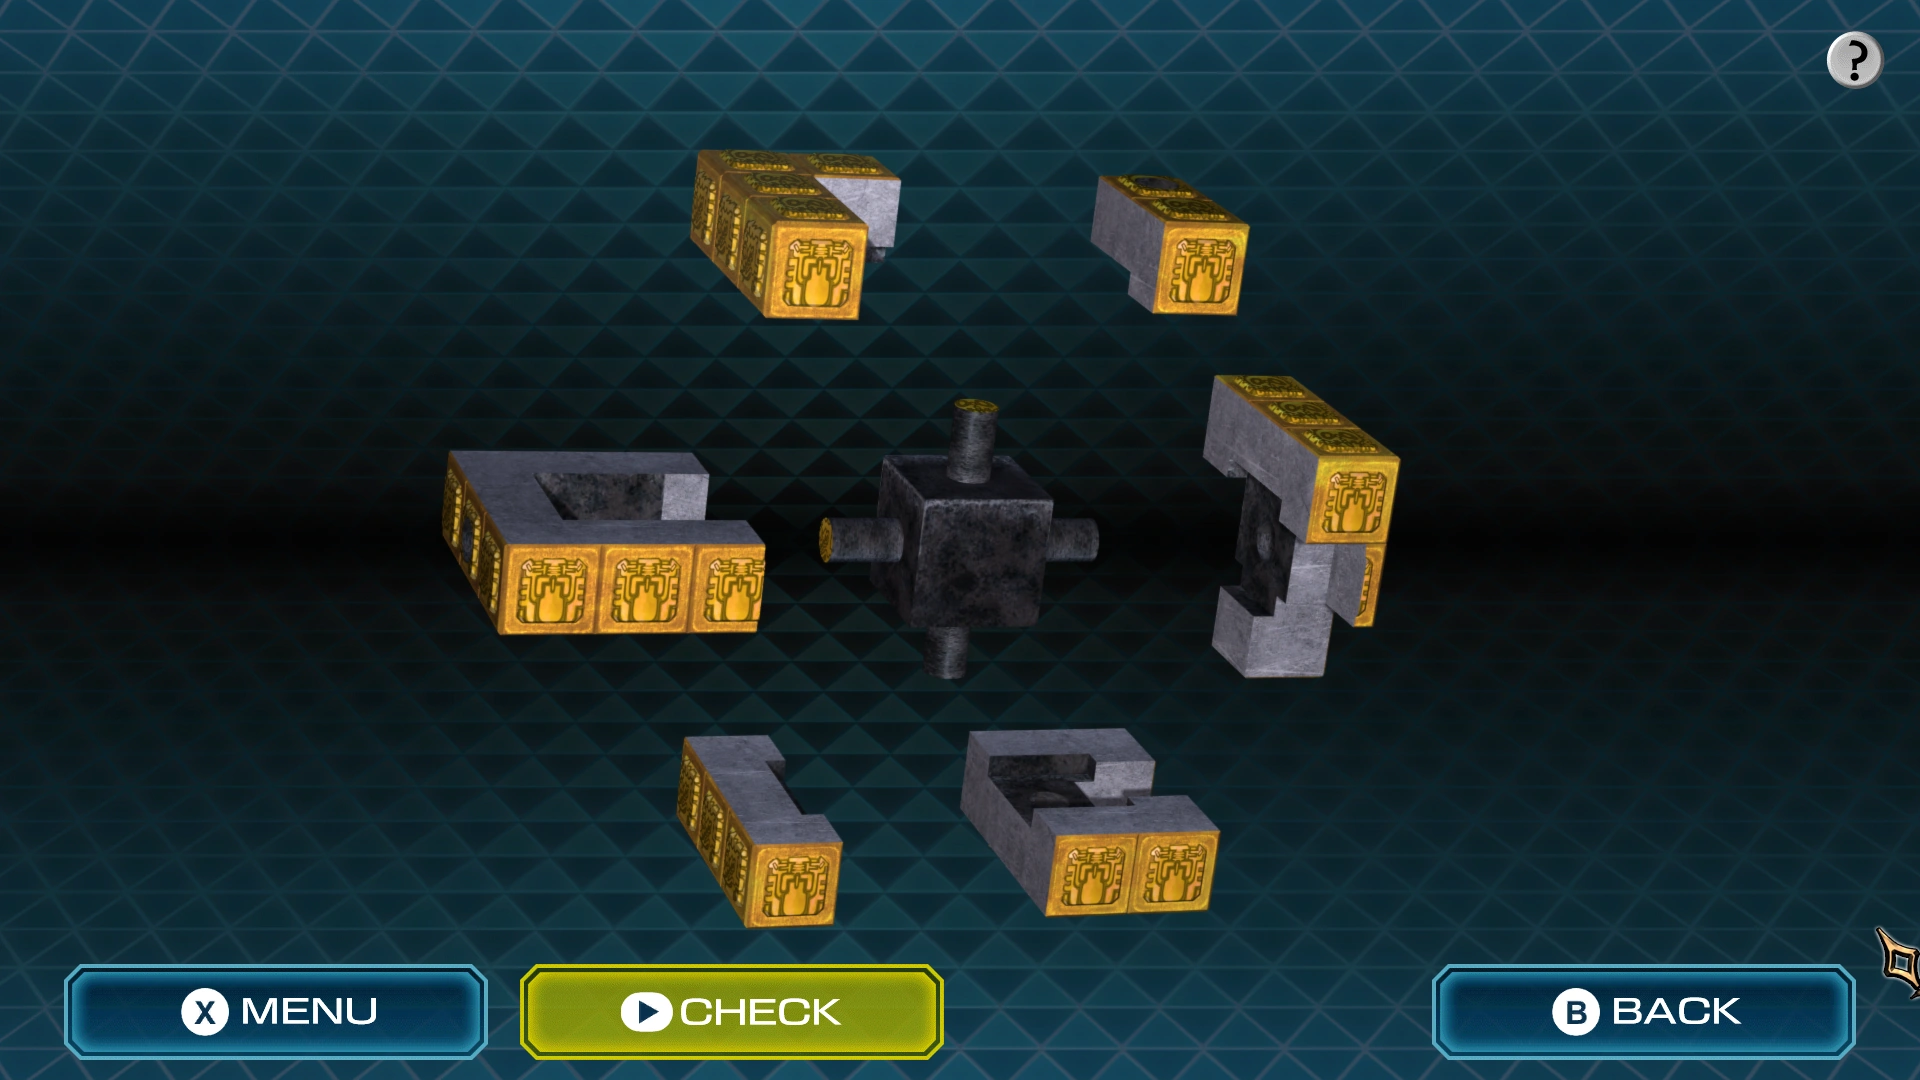

Solution (angled for convenience).
The "Puzzle Cube" minigame is begun as soon as the cube pieces are examined in the inventory.
To solve:
- Swap the top left and bottom left pieces.
- Swap the two middle pieces.
- Swap the top right and bottom right pieces.
- Swap the top right and middle right pieces.
X-Ray Barcodes[]
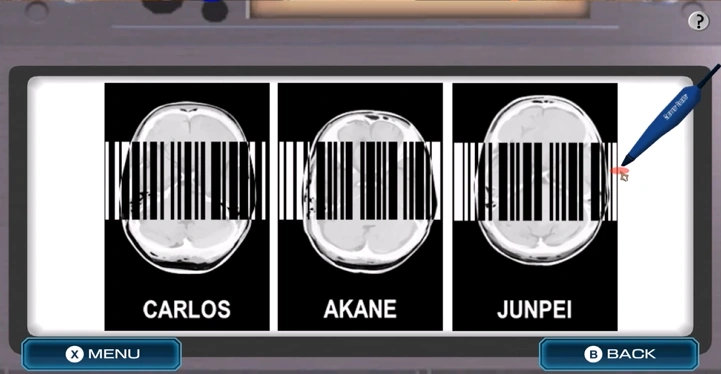
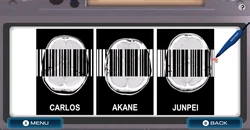
X-Ray barcodes.
Solved by carefully dragging the scanner from very left edge of Carlos' barcode all the way to the very right edge of Junpei's barcode.
Upon completion, the drawer underneath the big monitor will open, containing the blue key card and lug wrench inside.
Poster Injection[]
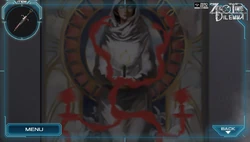
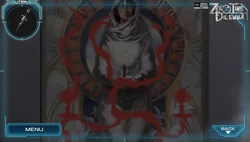
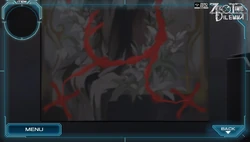
Inject the syrynge with ink into the picture. Then, inject the two candles that appear. Four red X's will appear. Use the lug wrench on all of these X's to unscrew the poster from the wall, revealing the Antidote Case.
Lock Picking[]
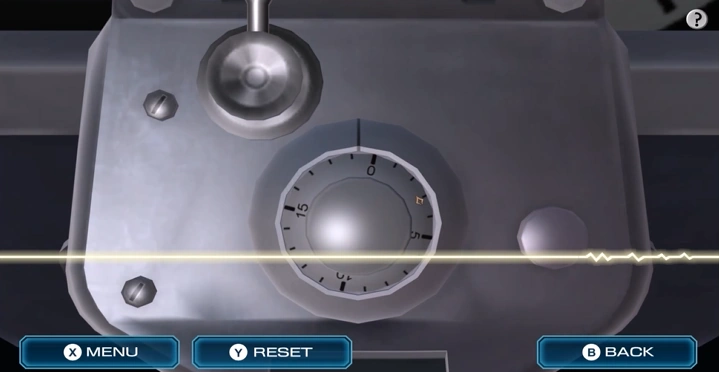
The lock picking minigame.
To solve this, use the stethoscope to listen for which numbers are correct. The presence of sound indicates the validity of the number being inputted within the lock.
The combination is 15, 7, 12.
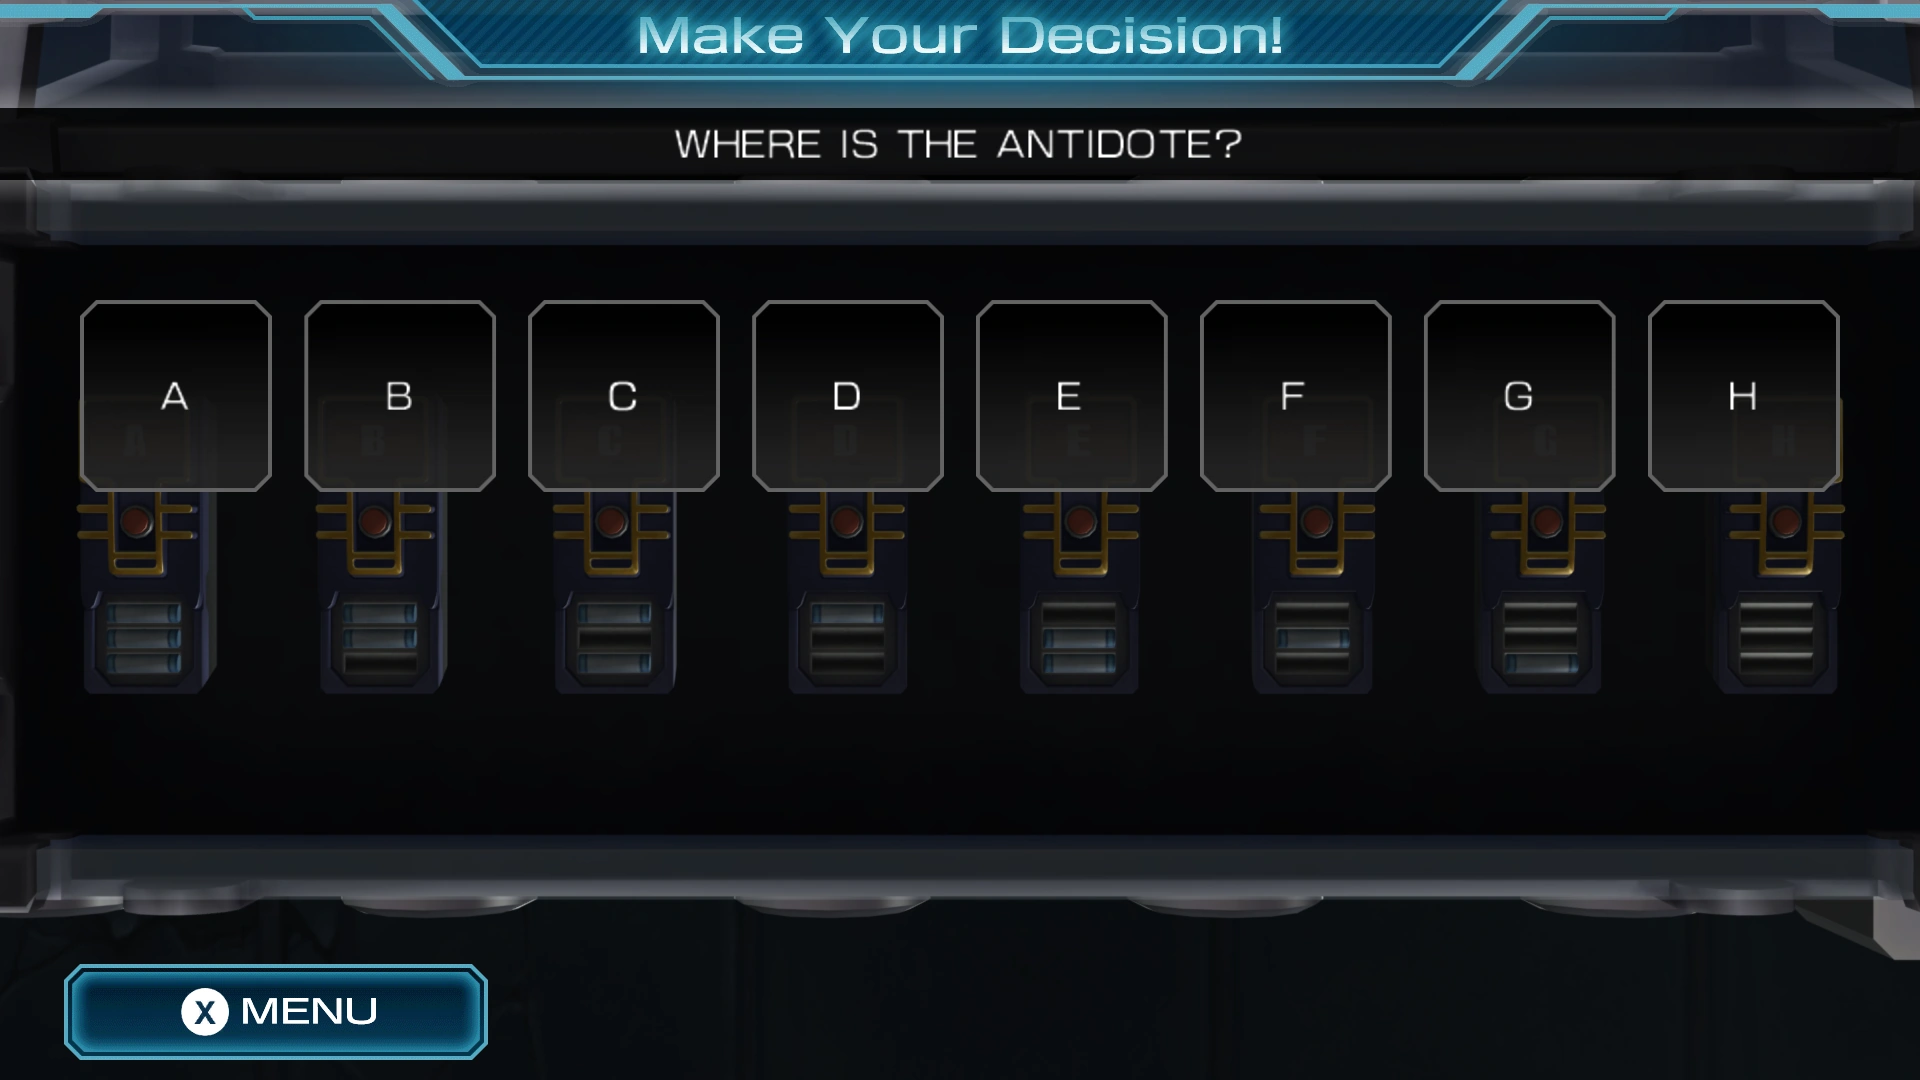
Decision Game[]

Trivia[]
- The background music has a sound effect of a heartbeat, suiting this room.
Humorous Quotes[]
- Examine the luminol in your inventory.
 Carlos: It's luminol spray. We can, uh, spray it around... Junpei: But what if it's really pepper spray inside? Akane: Why don't we test it then, Junpei? Junpei: Don't say that and come near me with that smile on your face, Akane...
- Examine the lug wrench in your inventory.
- Carlos: Got any screws loose in your head, Junpei? Junpei: What am I, a robot? Cut it out.
- Examine the syringe.
- Carlos: It's a syringe. Akane: Time to take your medicine, Junpei. Junpei: If only you'd been wearing a lab coat while you said that...
- Examine the trash can.
- Junpei: A trashcan. We could hide inside it... Akane: What would that do? Are you afraid that Zero will come in searching for us? Carlos: Maybe we can squeeze into the lockers, but I doubt we'd fit into the trashcan. Junpei: I was just kidding. Man, don't take that so seriously.
- Examine the lab coat.
- Carlos: It's a white lab coat. Junpei: Hey, Akane- Akane: It's that male fantasy, right? I'm not putting that thing on unless I need to. Junpei: Gah, so fast... Ruining a guy's dream.
- Open the middle locker without obtaining the combination by using the luminol.
- Carlos: Wait, that sound... Did it unlock? Akane: I communed with a spirit and it told me the combination. Junpei: Since when are you a psychic? You just got lucky, okay? LUCKY.
- Click on the fourth locker before obtaining the combination by using the luminol.
- Junpei: How about we try 777 for shits and giggles? How funny would it be if it opened?
- Back out of the cube puzzle after failing it.
- Carlos: Dammit. It's just not coming together right. Junpei: My... brain can't... take it any more... Too much... I... leave it all to you... Akane... Akane: W-Wait... Junpei? JUNPEI?!
- Examine the desk:
- Carlos: ...A consultation desk. Akane: So Junpei Tenmyouji, what seems to be the problem today? Junpei: Please Doc, you gotta help me! I think I've been poisoned! ...Too soon? Carlos: Why are the two of you joking around? We don't have time for this.